Happy Monday everyone!! I know it’s been a while. I’ve been slacking with the blog posts. Those that follow me on Instagram and Facebook know that I’ve completed many projects since my last post which you can read about here. Maybe I’ll do a summary post of what I’ve been up to.
Spring break officially starts today and since I completed the most recent project I’ve been working on, I figured this is a great time to write a post. I’m really, super excited about this one. Lately, with a toddler who is starting to get into everything (and I mean everything), I feel like I’m constantly picking up after her. You moms know what I’m talking about lol. Finding practical storage solutions (that the Little Monster can’t get into) has now become my mission in life haha. A while ago I built a coat rack/shelf and a bench to go underneath the coat rack. The purpose of the bench was to hold such items such as the little containers in which we could throw our scarves, hats, gloves etc.

For a while it worked out, but now that Kennedy is walking, she is constantly upending everything and everything is a toy to her. I’ve found my scarves in the kitchen, living room, bathroom, anywhere she can get into pretty much. I finally decided it’s time to come up with a solution in which she can’t easily access and I got the idea about a storage trunk. I’ve always wanted one. As many know I love pieces that are functional but also decorative. So I decided to do online to get inspiration. I checked out two of my favorite places to get inspiration, Pottery Barn and Restoration hardware and fell in love with the Rebecca Trunk from Pottery Barn.
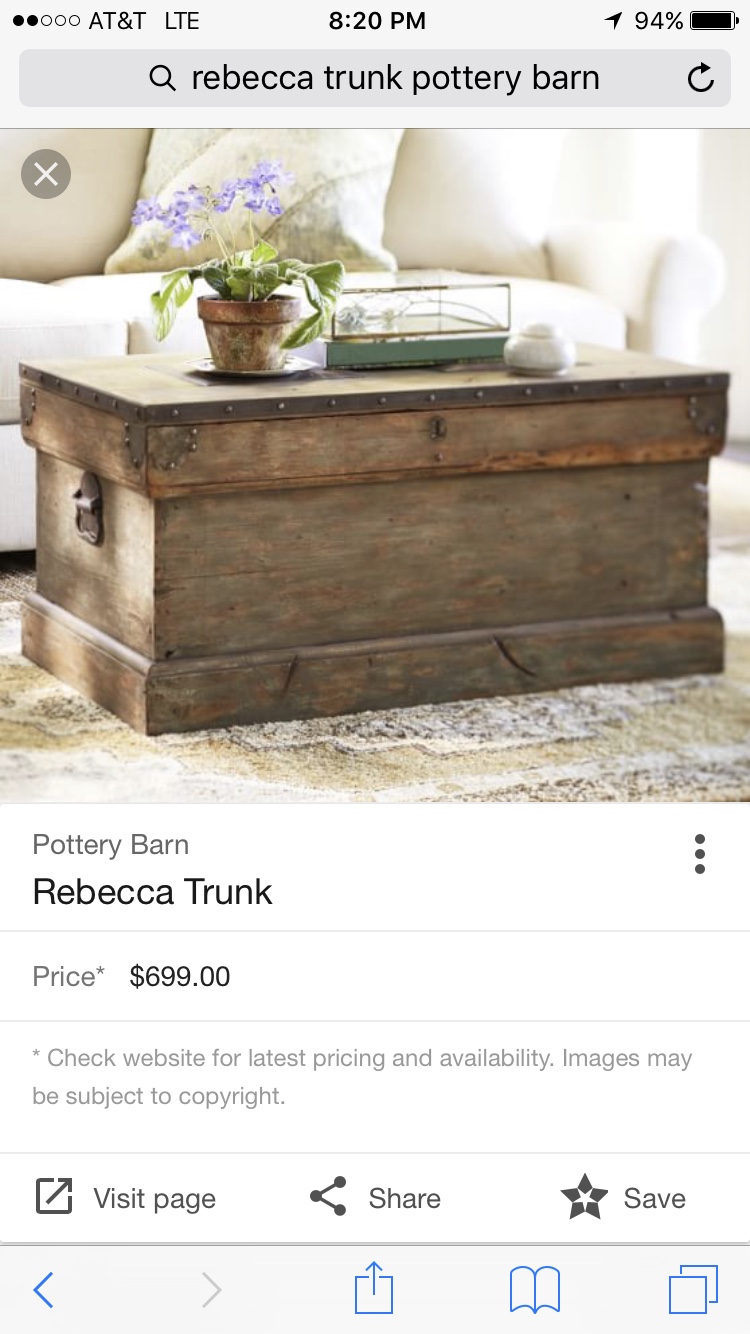
But do y’all see the price on that thing?? A whopping $700!! So I decided that of course I could build it. It looked like it was just a matter of building a box, adding trim and a lid. Fortunately, I found that the amazing Ana White had plans on how to build it. If you’re into DIY or want to get into building your own furniture you should definitely be following Ana White. I used the plans which were pretty easy to follow. But it was my first time working with trim moulding and boy did it give me a hard time. Trying to get the cuts just right to fit just right turned out to be a challenge. I actually had to make multiple trips to Home Depot for more trim because I kept messing up. But eventually I got it right…phew. I don’t have a step by step of my build but like I said, if interested just follow Ana’s plans.


The finishing was my favorite part of the project. I decided, like the inspiration I wanted a weathered look which I so love except I wanted more blue to show in mine. To achieve the look I started by first sanding the whole thing down. Then using some of the paint I had on I started by dry brushing some olive-green paint, then layered it with some grey paint, then some blue and then some white. After the whole thing was dry, I sanded it down again so that different layers showed and in some areas sanded it down to the bare wood. After sanding down, I wiped off all the saw dust. After all the dust was off, I stained it. I rubbed on the stain and immediately wiped it off. Then I let it dry. After drying I gave it a light sanding again and then sealed with polyurethane. After it was completely dry, I added the hardware. I had upholstery tacks that I had bought for another project but never used so I nailed them into the sides of the lid. I found the chest handles at Home Depot. They came in silver so I spray painted them in a mixture of satin and oil rubbed bronze. Got some piano hinges and attached the lid to the box and voila!! We got a trunk!! I just love it.


It’s pretty to look at, it’s functional, it’s a fraction of the cost I would have paid had I bought it and best of all the little monster won’t be able to get into it (at least for a while).


So lemme know what y’all think. Please like, comment, share, and pin. Hopefully, it won’t be as long before I write another blog post. Now on to the next project, whatever that may be. Have a good week y’all!!

In your own words…”woot woot!”
Was wondering when you’d get around to sharing tales of your recent diy adventures!
I’m still in awe of how you went from no diy experience to the queen of handmade! Truly inspiring! You rock!
LikeLike
Thank you so much!!! I know I’m terrible about the blog posts. No lie I hate writing because I know I suck at it lol. But I’m hoping to do better 😀😀
LikeLike
This is very lovely. I like it a lot .
LikeLike
Thank you!! 😊😊
LikeLike